Filestash
Requirements
Section titled “Requirements”All you need is a Linux server with these tools installed:
- docker
- docker-compose
- curl
Self-host using SFTP:
Section titled “Self-host using SFTP:”Clone the repository.
git clone https://github.com/mickael-kerjean/filestash.gitNavigate to the Folder.
cd filestash/dockerModify the docker-compose file as below:
version: '2'services:  app:    container_name: filestash    image: machines/filestash    restart: always    environment:    - APPLICATION_URL=    - GDRIVE_CLIENT_ID=<gdrive_client>    - GDRIVE_CLIENT_SECRET=<gdrive_secret>    - DROPBOX_CLIENT_ID=<dropbox_key>    - ONLYOFFICE_URL=http://onlyoffice    ports:    - "8334:8334"    volumes:    - filestash:/app/data/state/
  onlyoffice:    container_name: filestash_oods    image: onlyoffice/documentserver    restart: always    security_opt:      - seccomp:unconfined  sftp:   container_name: sftp-opsfolio   image: atmoz/sftp   restart: always   volumes:     - sftp_data:/home   command: >     <username>:<passwd>:::<folder-name>/     observe:pass:::log/
volumes:    filestash: {}    sftp_data: {}
To start the application with Docker Compose, use the following command:
$ docker-compose up -dSet up a reverse proxy to create a custom URL, such as https://files.opsfolio.com/, and then proceed to configure your admin password.
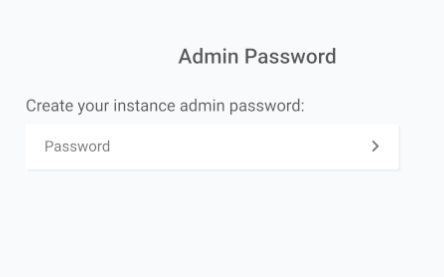
You can set the administrator password in this section.
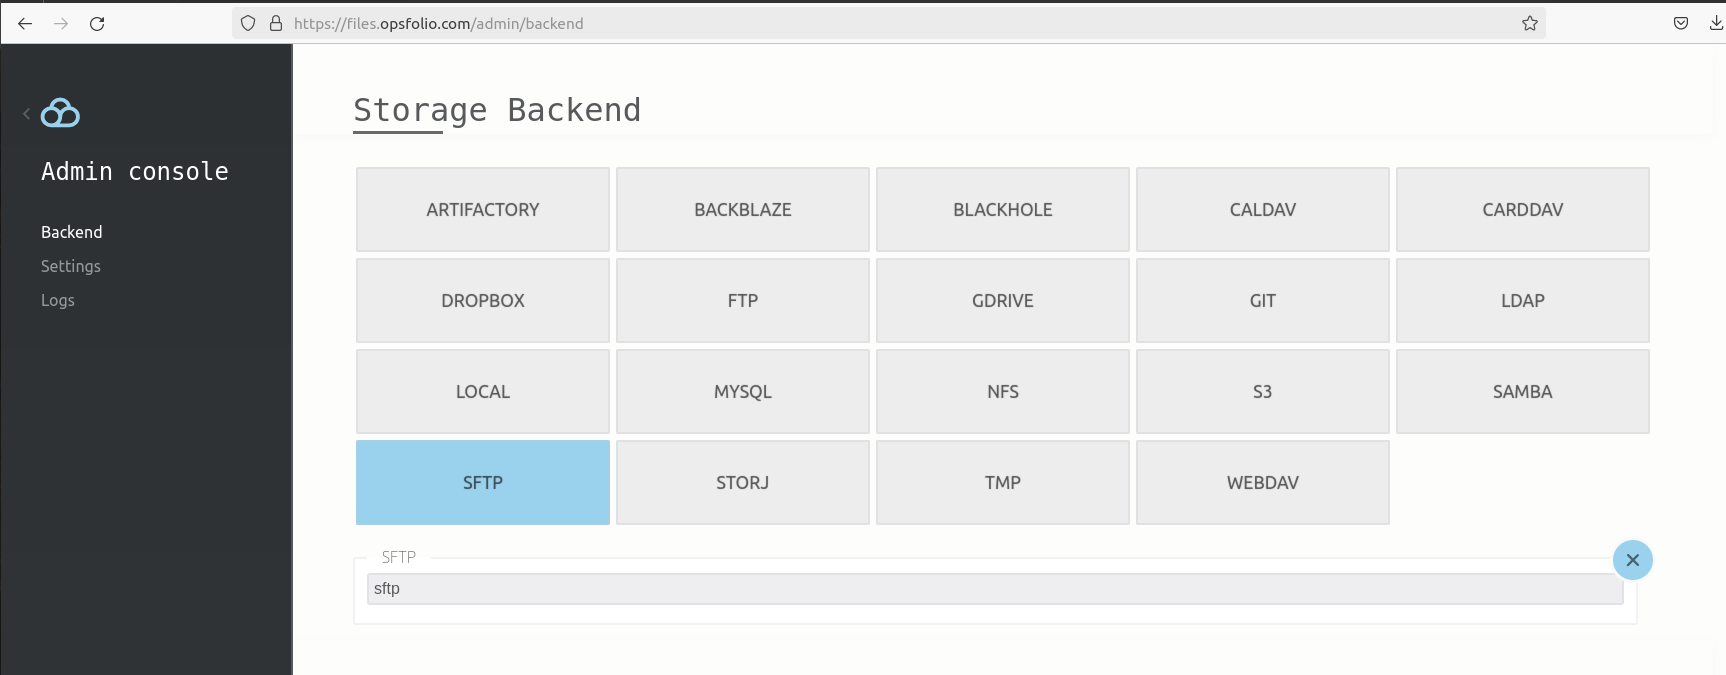
Next, choose SFTP as your Storage Backend .
Use the credentials you specified in the docker-compose file to log in as an SFTP user.
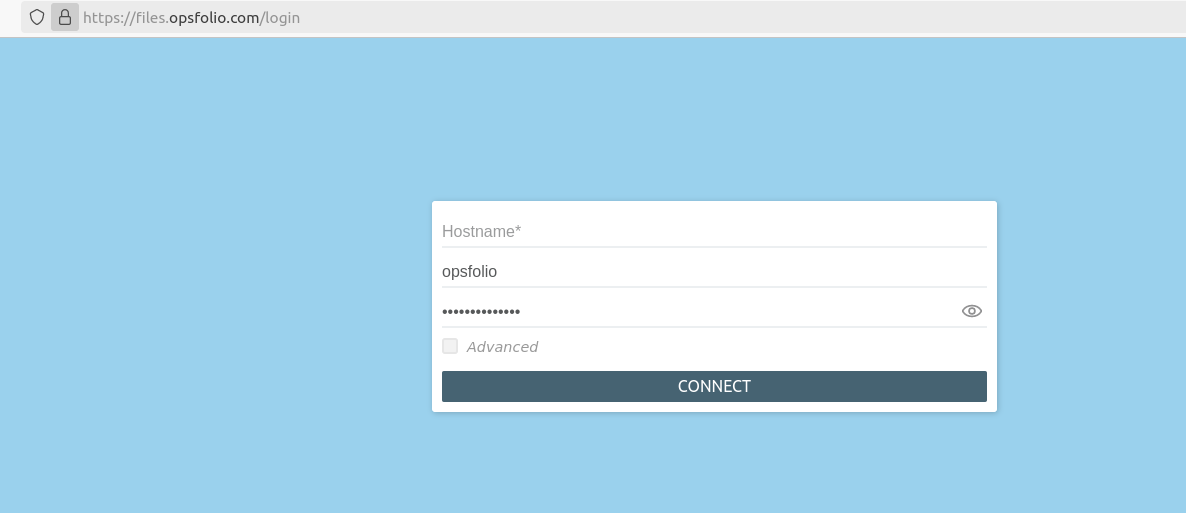
Enter the hostname, which should match the sftp container name, in this example, sftp-opsfolio (sftp container name accessed internally)
Navigate to advanced settings and specify port 22.
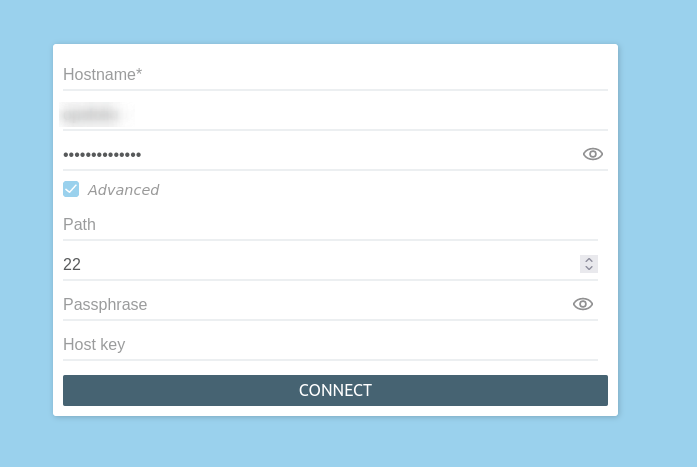
Once you have clicked CONNECT, you will be directed to the default directory set in your docker-compose file.
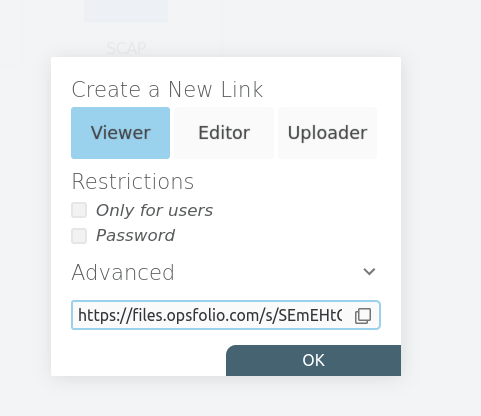
From here, you can create NEW FILE or NEW FOLDER by clicking on new file or new folder. To manage permissions, hover over the file or folder, and click the ‘share’ icon to set the Authorization component.
- Authorization component: Define the permissions for each user once they have logged in. You can assign different access levels such as
viewer, editor, or uploader. For instance, you may want to grant read/write access to the marketing department, while limiting the sales department to read-only access.
Once you’ve set the appropriate permissions and restrictions, you can copy and share the link with users as needed.